
Whether you are a budding amateur or experienced professional, holding your camera for long periods of time can become quite uncomfortable if it doesn’t fit in your hand correctly. Sound familiar? We know just the fix! Sugru’s advanced silicone technology has helped hundreds of photographers mould personalised rubber grips.
As Sugru is a silicone rubber, it feels soft to touch when it has cured but is also grippy – making it perfect for handles and grips as it is comfortable but non-slip. Cameras are very precious and cost a lot of money, so it would be a real shame if you dropped yours. Sugru to the rescue!
Want to personalise your beloved gadget? This guide will demonstrate how to create a custom grip for your camera.
What is Sugru?
Sugru is a mouldable formula that sticks to surfaces like plastic, glass, metal, wood and fabrics. You just push it onto the item you want to stick, fix, repair, seal or even build. The putty gives you 30 minutes to get the job done before it starts to set – 24 hours later the product will turn into a durable, flexible, silicone rubber that remains in place until you decide to move it. Sugru was invented by its founder Jane Ní Dhulchaointigh whilst studying for her MA in product design, with the mission to get a new generation fixing, making and improving stuff.
How to create a custom camera grip:
What you will need:
- 2 minipacks of Sugru
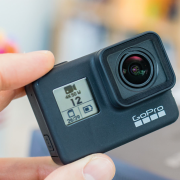
- A camera
- Soapy water
Step 1:
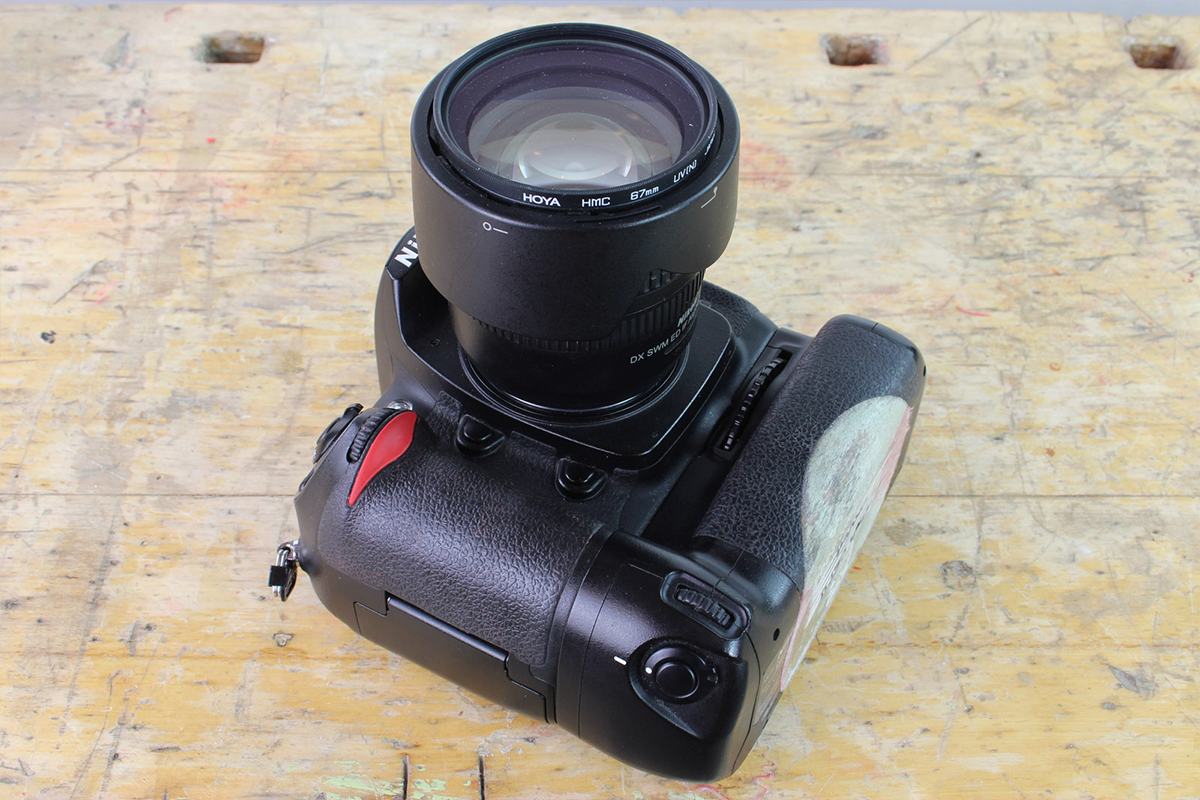
Before you start, it’s important to work out how you grip your camera when holding it and where you need to apply Sugru – this is where you will want to add the grips.
Step 2:

Next, firmly press the Sugru onto the camera ensuring a good bond between the camera and mouldable glue. Don’t worry about the finish just yet.
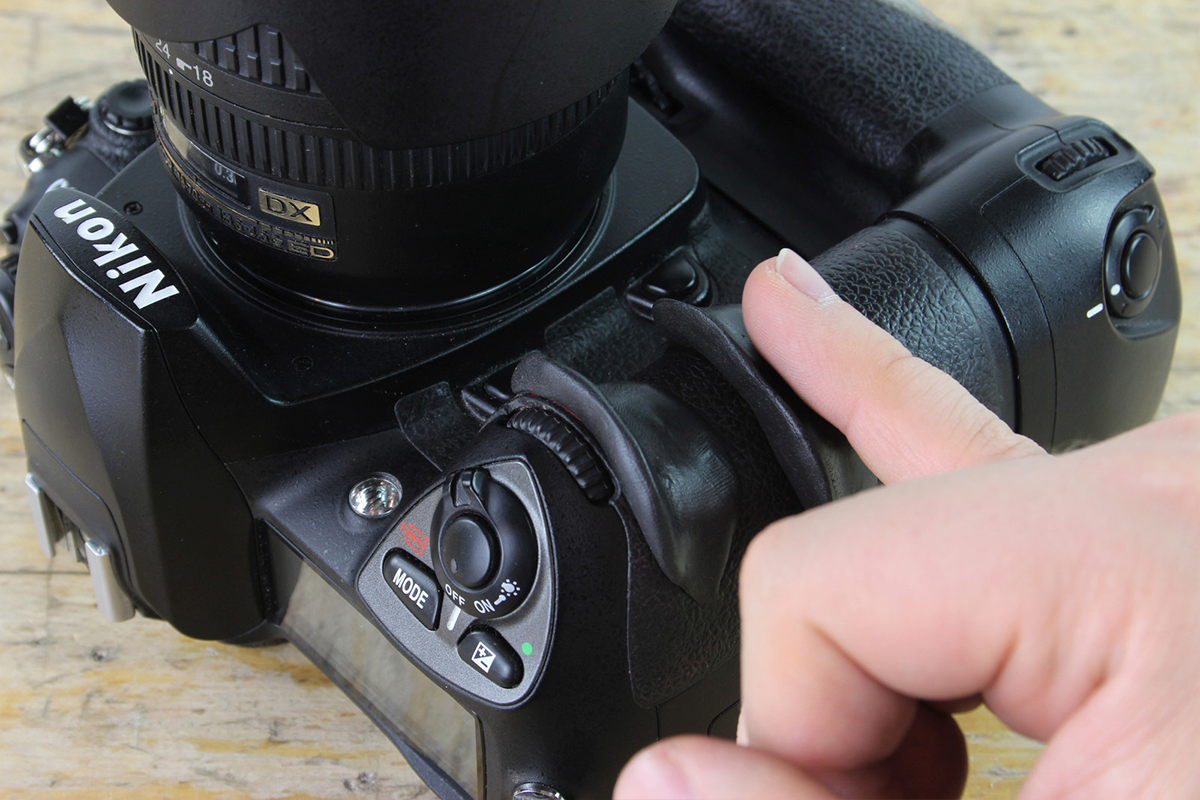
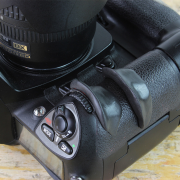
Step 3:
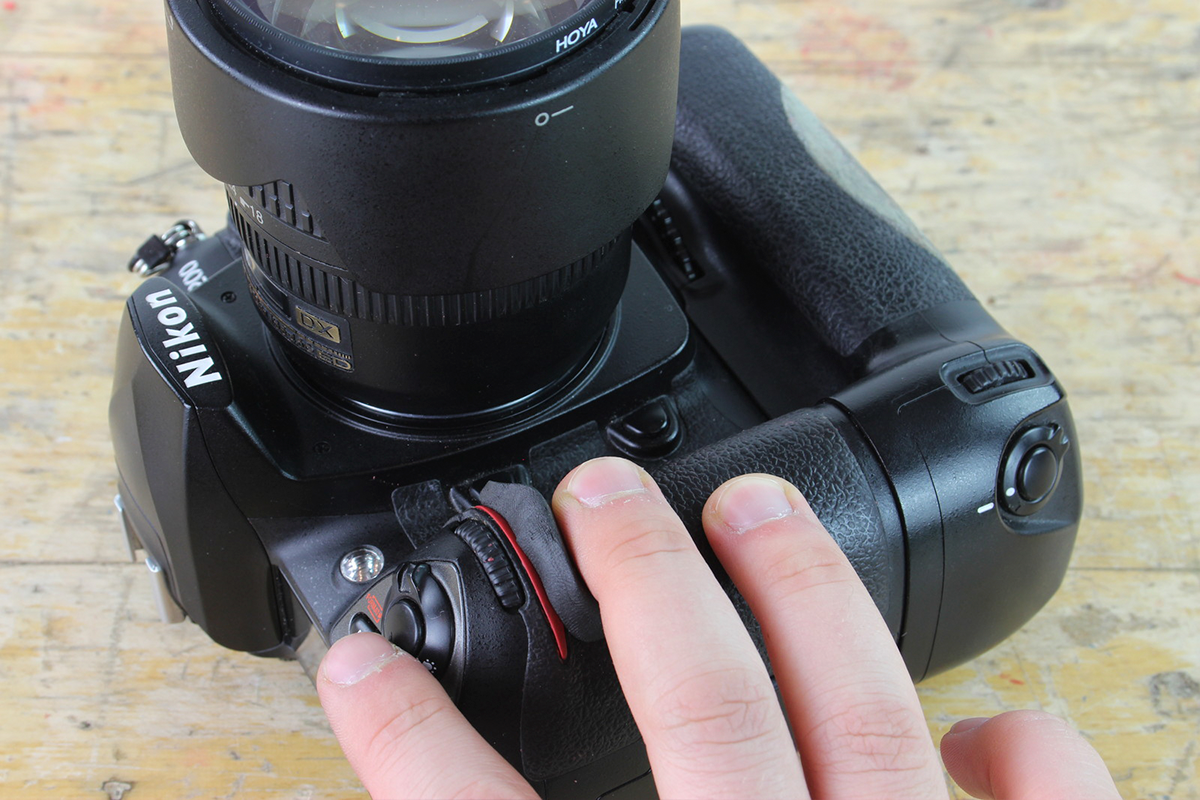
Hold your camera and press your grip firmly into the Sugru. You could try to gently release and reapply your grip to shape the glue.
Step 4:
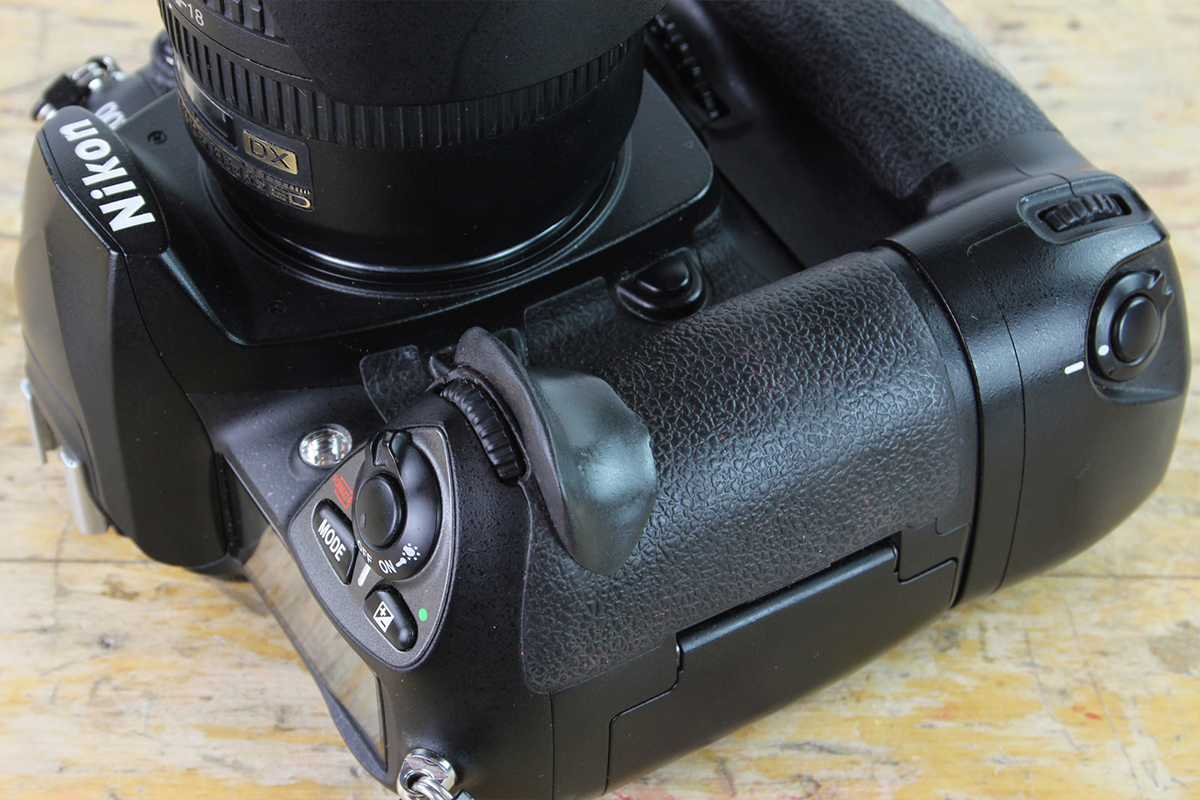
Gently rub the surface of your Sugru with your finger to get a smooth finish.
Step 5:

For the second part of your camera grip, repeat the process by pressing the Sugru firmly onto the camera.
Step 6:
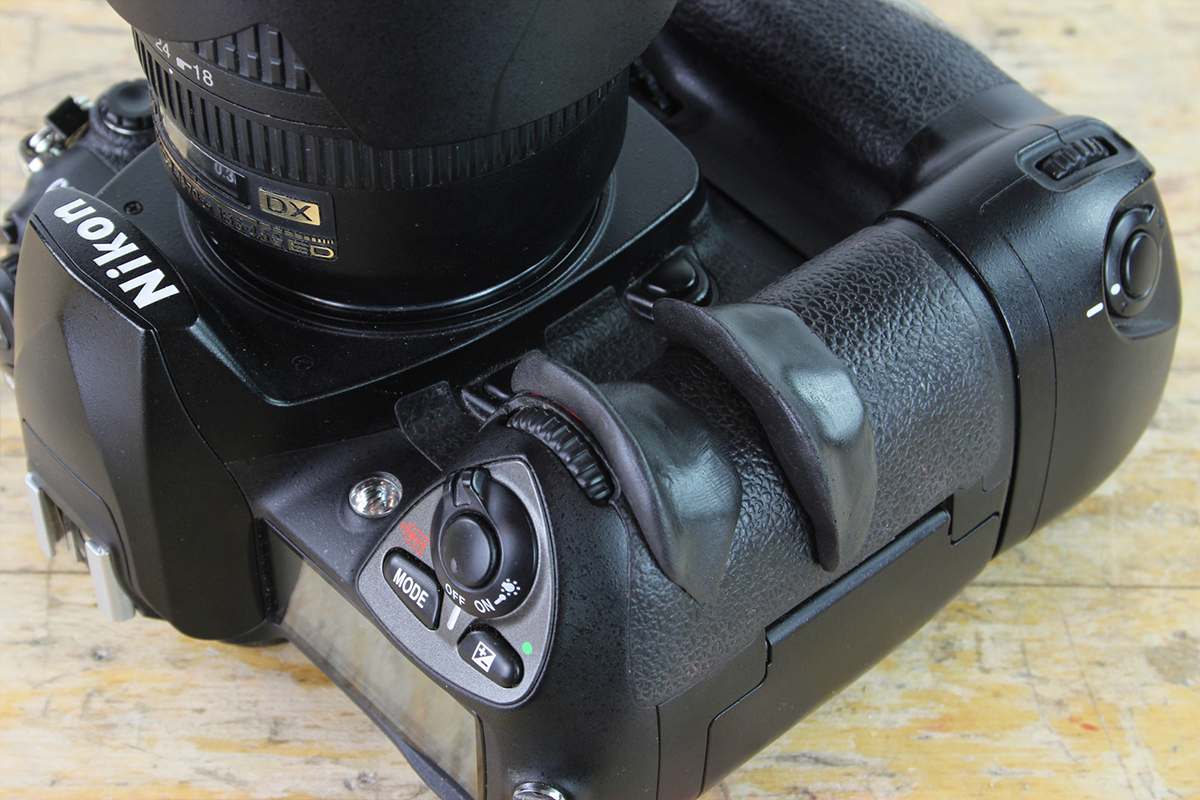
Gently rub the surface of the second grip to get another good smooth finish.
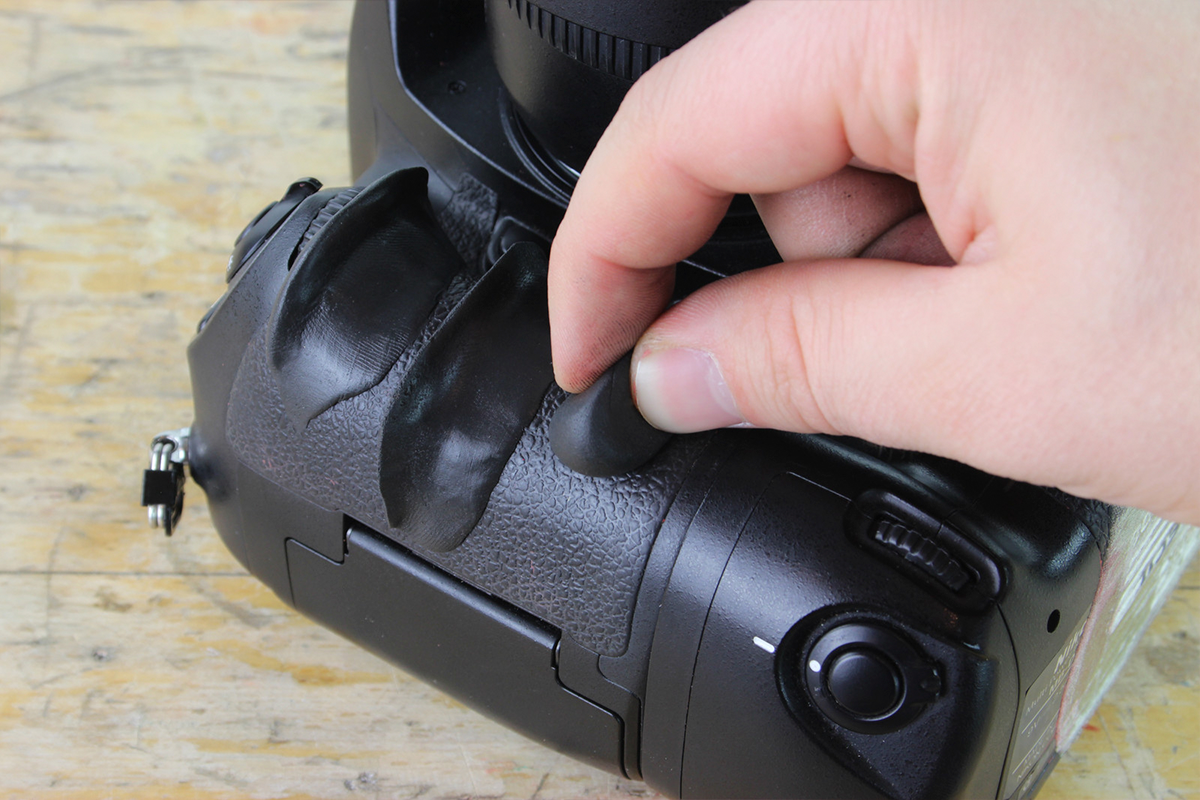
Step 7:
Try using a small amount of soapy water to achieve an ultra-smooth finish. You can also use the inside of your little finger to smooth the surface out even more.
Step 8:
Repeat all of the previous steps. You might want to consider adding another custom grip to the bottom of your camera so you are prepared for when taking portrait photographs. Leave your Sugru grips to cure overnight.
Step 9:

There you have it! You now have your own custom camera grips, personalised to your hands.
If you would like to get your hands on this super inventive mouldable glue, head to our website now to view our full range of Sugru.
Editor’s Note: Originally published 30 January 2020 at 13:22 PM, updated 10 June 2021 at 12:55 PM
Sources: All photos and steps sourced from Sugru


Comments