
After the past year of events, many content creators and freelance photographers are continuing to work from home. If you fall into this category, you may find yourself wondering how you can set up your very own home photography studio to help you to take more professional-looking photographs.
With just a few useful tips and the right equipment, you can easily create an efficient photography studio from the comfort of your own home.
Whether you’re a professional photographer or someone who would just like to have a go at being creative, having a photography studio set up at home can definitely help to elevate your business and take your photographs to new heights. Not to mention you will save money on renting spaces, have the ability to shoot as and when you like and be as imaginative as you want with setups.
So, how do you get started? Here are 8 useful tips to help you set up your own home photography studio to ensure you capture those killer shots.
Tip 1: Find an area with the best natural light
One of the most important components in setting up a home photography studio is the lighting. Although every home or flat will have a different layout, try to find a place with the best natural light, whether that’s a corner of your bedroom or on your kitchen table. If you are struggling with an area to choose from, try setting up your studio space in front of a window for a great source of natural light.
Tip 2: Set up your backdrop
Once you have decided on what area has the best natural light for you to take pictures with, it’s time to think about your studio backdrop. Consider using your blank wall or perhaps a decorated corner of your living room to emphasise your subject – use whatever you feel works best for your style and theme of photos.
Before you start shooting, it’s a good idea to gather different textures and materials to use as a backdrop so you can experiment with a few different options for backgrounds. Once you have a group of items together, you can continue to use them for different types of shoots. If you are taking flat lay images, try experimenting with different textured tabletops or pieces of coloured card to add more excitement to your images.
Tip 3: Don’t forget to use props
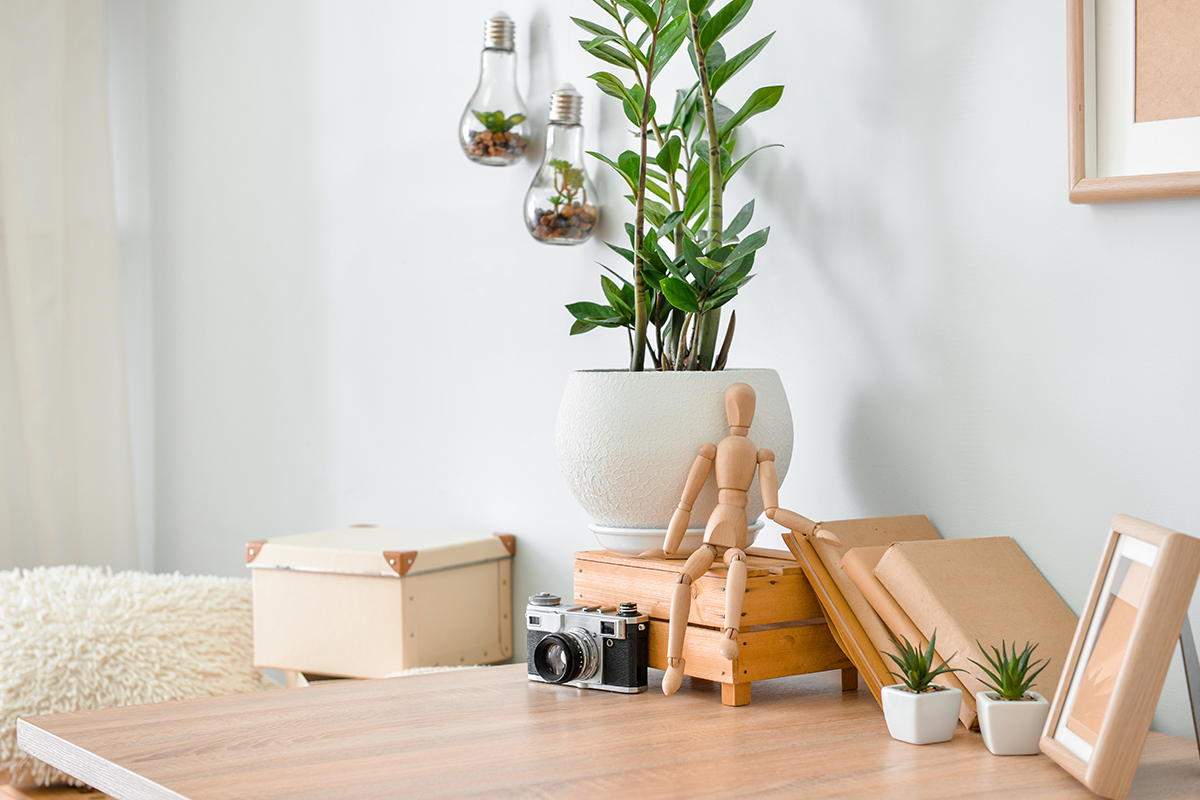
A stylish workplace with modern props | Photo: Pixel-Shot via Shutterstock
Don’t be afraid to use props in your photos! Props in photography can help to add character and interest to an image or enhance what’s already in the shot.
Look for items around your home that would make your photos more interesting – almost anything can be used as a prop. Objects such as furniture, mirrors, household items, frames, and food, are great props to help bring different elements of your image together. Just ensure that whatever props you do decide to use, fit with your brand identity or theme for the shoot.
Once you get your setup sorted, don’t stop experimenting after the first shot, instead, keep adding new props to create different results.
Tip 4: Gather essential equipment
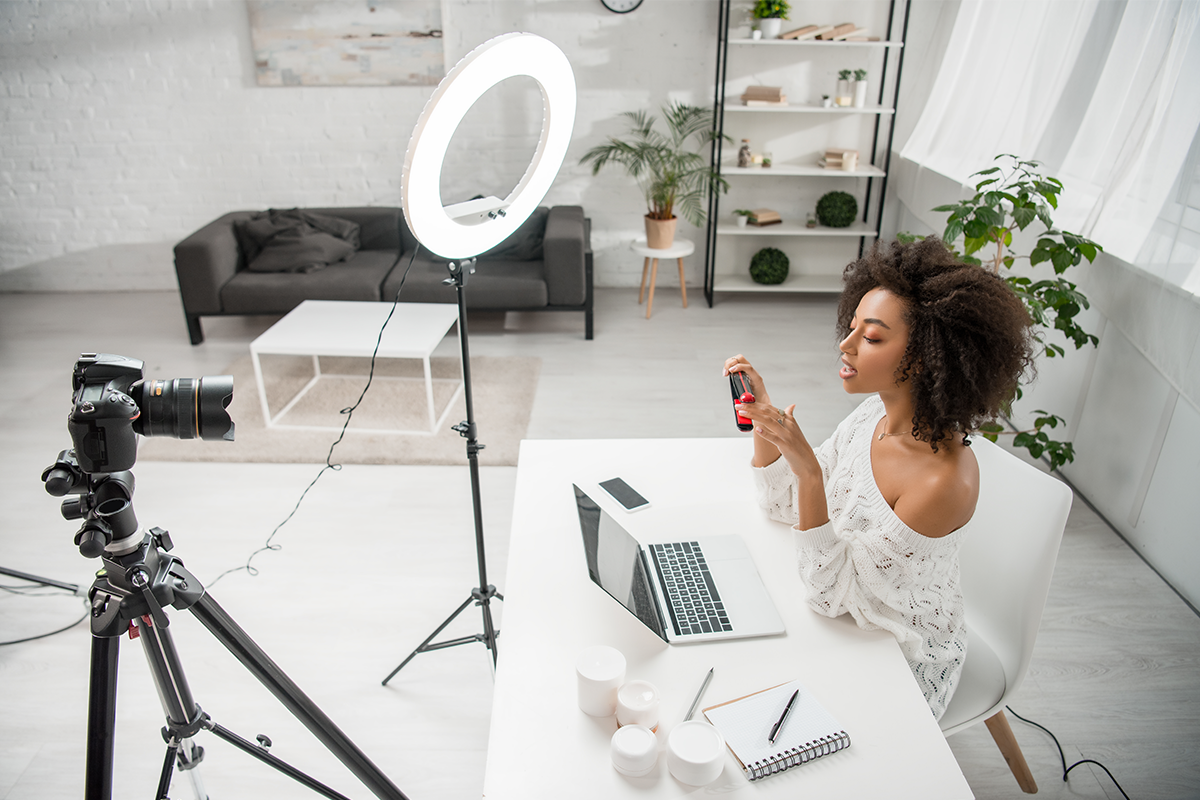
Content creator using camera tripod and ring light | Photos: LightField Studios via Shutterstock
As there is plenty of photography equipment to choose from it can be difficult to know which pieces you should have for your home studio kit. It’s important to note that you don’t need to empty your wallet buying all the expensive gear – you will be surprised at how little you actually need.
Wondering what essential equipment you might require? Here is a list of the basic equipment you might need for a home photography studio:
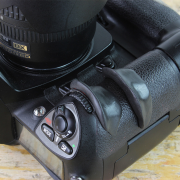
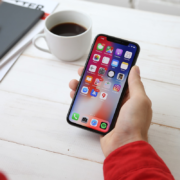
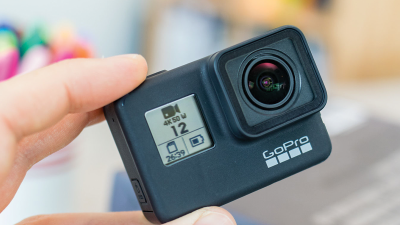
- Camera: It doesn’t matter if it’s a DLSR or smartphone you are using, any camera will do the trick
- Tripod: Both a Smartphone Tripod and Camera Tripod are essential bits of equipment when shooting photos
- Batteries and memory cards: Stocking up on camera batteries and memory cards will help to save you time whilst shooting and ensure you can carry on your shoot with ease when a memory card gets full
- Lighting: If you are looking to add extra light, we recommend an LED Ring Light to get you up and running
- Backdrops: Try using objects you may find around your home, such as a blank wall, coloured card, bedsheet or curtains
- Props: Items such as furniture, mirrors, frames, and food, are great props to help tie your image together
Tip 5: Vary up the angles when shooting
The position and angle at which you take your photographs can have a significant impact on the outcome of your images. By varying up the angles in which you are shooting your subject, you will be able to achieve a different effect in your photos, creating a completely different photograph each time.
Even if you aren’t very familiar with using a camera, it is easy to vary up the angles you are shooting with. Try approaching the subject from a different viewpoint and position as to the one you may have used before. By moving your camera higher or lower, you can create an overhead, eye-level or lower position. Doing this will help to bring out the best qualities of your subject and dramatically change the composition of your final image.
Tip 6: Add in artificial light if needed
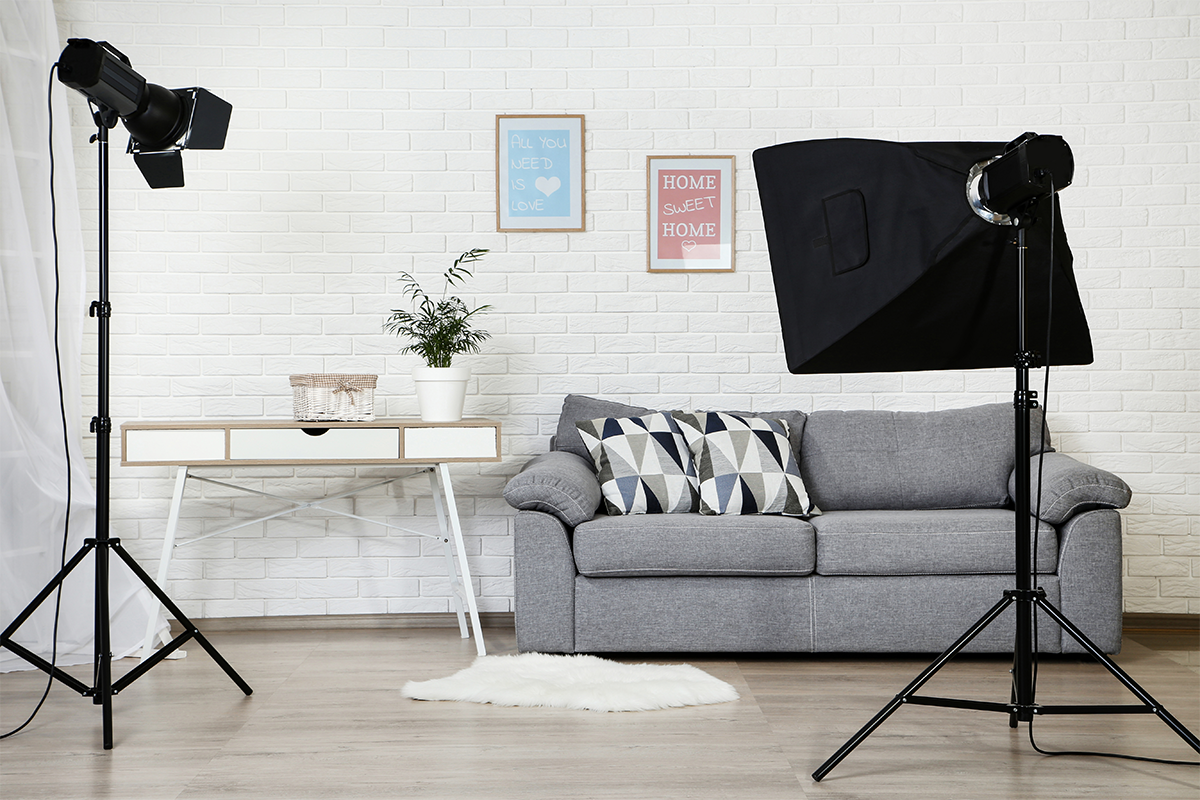
Home photography studio with professional equipment | Photo: 5 Second Studio via Shutterstock
Natural light should be more than enough to take nice photos with at home, however, if you’re looking for something more, an LED Ring Light will do just the trick. Designed to wrap around the lens, a ring light provides even lighting on all sides of the subject which makes sure there are no unnatural or odd shadows in the image. These compact lights are great for tabletop photography, particularly when you are photographing food or still items.
If you are setting up your home studio in a small space, try to keep extra lights to a minimum. Using natural sources of light whenever possible, will ensure you don’t fill your space up with light stands.
Tip 7: Get creative when taking photographs
Although very important, we are often so focused on the technical side of taking photos, that we don’t set aside time to experiment and get creative. Use this opportunity to shake up your images to achieve different looks. Using props, shadows, and different lighting styles will all help to create a variety of fun and interesting shots.
Playing with different lenses is also a great way to get more creative when taking photographs. A simple Filters Kit for Smartphones will have everything you need to unleash your creative side and enhance your photography skills. So, what are you waiting for? It’s time to get creative!
Tip 8: Use photo editing software

A person using MacBook Pro on brown wooden desk | Photo: Domenico Loia via Unsplash
Once you are happy with the photographs you’ve taken, you might want to consider editing them to get the most out of your images. Whilst editing your images, you may decide to correct several things to help them stand out such as exposure, noise, saturation, and focus.
If you are used to editing photographs, you might utilise Adobe Photoshop or Adobe Lightroom to enhance colours and create eye-popping results. However, if you are just starting out in the world of at-home photography, photo editing apps such as Instasize and VSCO, offer some great features to help you edit your images into professional-looking photographs in no time at all. Making small editing tweaks to your images can take your photographs to the next level.


Comments