
Have you taken a blurry photo? Guest contributor Tania Longeau shares her tips on how to fix it.
Taking photos isn’t all easy. In fact, sometimes it’s really hard to get that perfect shot! Sometimes your subject is moving, the weather isn’t cooperating, or your camera has a hard time focusing. There are all kinds of things that can attribute to a blurry photo, but when you’ve captured the perfect moment in a blur, you certainly will want to be able to fix it!
Luckily, we now have Photoshop. The history of Photoshop isn’t very long, but it’s certainly come a long way in the last decade. Over its time as a photo-editing program, Photoshop has evolved to offer all kinds of awesome tools to help our creative juices really flow. One of the best superpowers that Photoshop CC offers, is the ability to fix a blurry photo. This is an ideal feature for all kinds of photographers, from rookies-to-professionals, since we’re all trying to capture life’s moments with devices of different qualities.
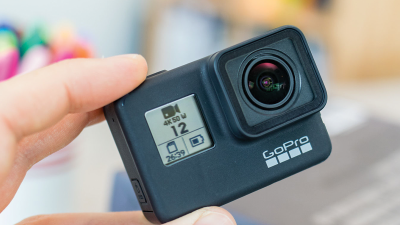
Whether you’re working with one of the best cameras of the year or your smartphone, Photoshop CC may be able to help you rescue those blurry photos.
Types of Blur:

Photo source: ag images
Generally speaking, there are two types of blurs that can occur within a photo. The first is with camera movement, where the photographer is moving the camera as they take the photo. This might happen when trying to create a panorama, or when you’re following a subject that is moving.
The second type of blur is known as a subject movement when the static component of a photo is clear and moving objects are blurred. This is commonly done on purpose for artistic effect but can be an annoyance for someone trying to take a fully-focused photo.
How to Fix a Blurry Photo with Photoshop CC:
Blurry photos are impossible to avoid, whether you’ve got shaky hands or not! Luckily, there’s a tool that’s known as “camera shake reduction,” which may be able to help. The tool recognizes any motion in the image and responds to this effect with a sharpening tool and “ghost removal.” Keep in mind, there are some limitations to this instrument. Photos with a lot of noise or grain will be harder to improve, as well as images with low light and images with a high ISO.
To edit a blurry photo with Photoshop CC, create a duplicate of your image for editing. From the drop-down menu, chose Filter>Sharpen>Shake Reduction.
A new dialogue box will open, allowing the program to analyze your photo and look for any areas of blurriness. The photo will automatically be edited, giving you a preview of the changes that have been made. An advanced section allows you to look at some more advanced options where you can alter the edits that have been made. A “blur estimation” box will also appear, showing you the specific area being edited. You have the option to move the focus around the photo to enhance blurriness in other areas.
Smart Sharpening with Photoshop CC:
If there’s one thing you should know about Photoshop, it’s that there is always more than one way to do things. In another option for removing blurriness, users can use the lasso tool to select a specific part of a photo for sharpening. Once you have a duplicate photo-ready for editing, create a second layer on your photo. This will be the layer you’ll be working with.
Next, select the “lasso” tool and trace around the area you want to fix. You will need to click and hold the mouse down in order to trace the entire image. Don’t worry if it’s not perfectly precise! If the area you want to lasso has a clear border around it, you might also choose the polygonal lasso that can create the shape for you. Once you’ve lassoed the area, you’ll want to feather slightly around it. This will ensure that there isn’t too stark of a contrast between your sharpened image and the rest of the photo. In this case, less is more! Only feather as much as you need to or else the surrounding area will begin to look too soft.
Next, you can go to your drop-down menu and choose Filter>Sharpen>Smart Sharpen. Because every photo is different, the amount that you sharpen your photo will be different every time. Be sure to select the “preview” checkbox ahead of time, so that you can also double-check the photo before making changes.
Word to the wise: It is helpful to set the sharpness to the most extreme level and then work your way back from there. This way, you can see how aggressive the image looks against its background and find a happy medium.
Tips for Avoiding a Blurry Photo:
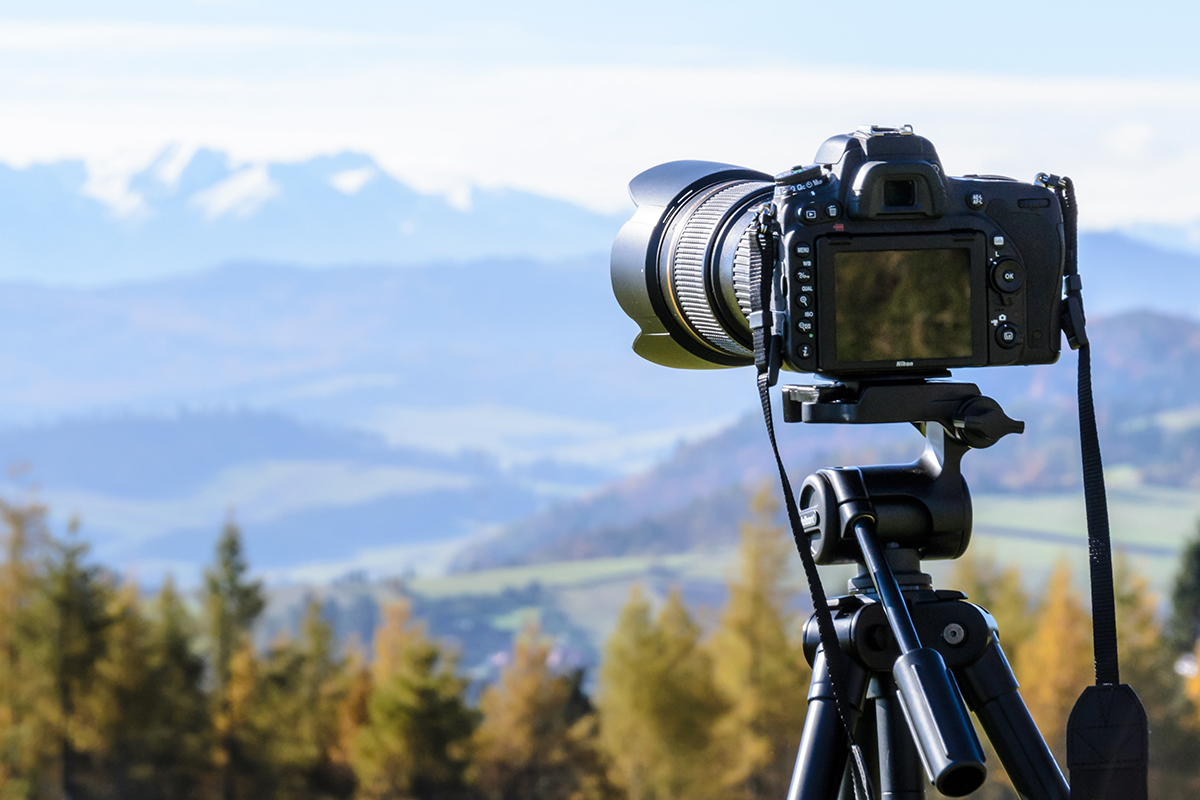
If you know that the subject of your photos might make it difficult to focus, then planning ahead can help! Some cameras allow you to control the shutter speed, which allows the camera to freeze a moving object long enough to capture it clearly. Use a tripod for additional stability.
If your camera or phone will not let you control shutter speed, you might also consider choosing a movement setting such as Action, Sports or Children. These settings recognize movement more clearly and provide faster shutter speeds.
A simple fix might also be to make sure that your lenses are clean and free from any dirt, dust, fog, etc. You can incorporate as many blur estimation boxes as you’d like, increasing the amount of sharpening and bringing more of the photo into focus.
Once you’ve got your blurry photo sharpened up, you can get ready to print! Whether you’re working with colours or grayscales, it’s always ideal to implement the perfect inkjet cartridges for photos to get the best result. If you’re new to Photoshop, don’t be afraid to experiment! As long as you’re working with duplicates, you can play around with all kinds of awesome tools to get the perfect printed images. Are you still getting blurry photos? Try these tips to avoid a blurry photo.
Be sure to head to our website now to view our full range of photography accessories.
Author Bio: Tania Longeau serves as the Head of Services for InkjetSuperstore. She is a happily married mother of one who enjoys spending time with her family and reading in her leisure hours.


[…] the world of graphic designed changed. In the beginning, 28 years ago, the change was slow until Photoshop was perfected and many people learned how to use the technology. Fast forward to today, this program has an […]