Snow has something magical about it. Whether it’s family enjoying the snowfall, hitting up the slopes with friends or kids throwing snowballs at each other, the snow makes everything outdoors look so serene.
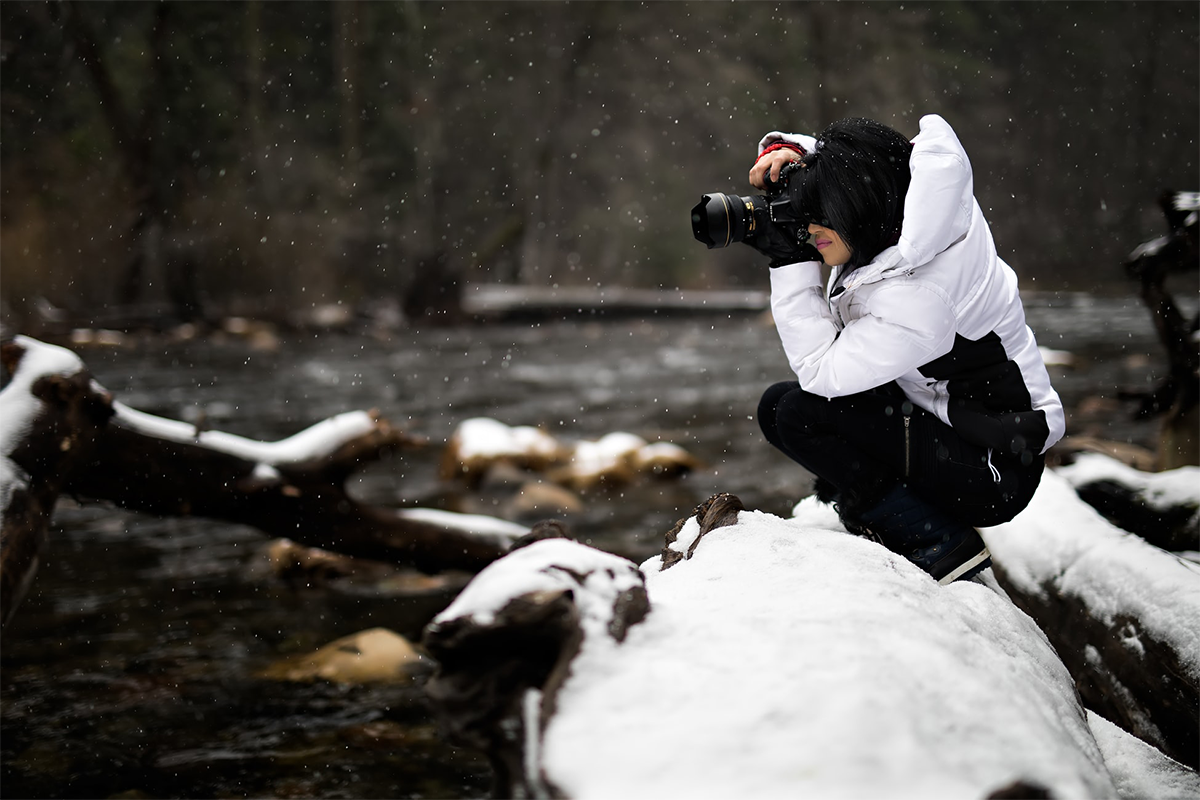
Can’t wait to start shooting as soon as snow falls? If you are a photographer, clicking photos of nature’s scenic beauty when everything is covered under the white blanket, is a must. However, capturing these beautiful surroundings has its challenges. Here are a few simple winter photography tips to keep in mind to help you shoot the perfect snow shot:
Don’t have time to read the full guide? Here are 9 things to keep in mind when shooting winter or snow photography:
- Keep batteries warm
- Dress warmly and wear waterproof clothing
- Update your camera settings
- Protect your gear
- Photograph in the mornings to capture snowy details
- Insulate your tripod
- Use strong lines and contrast
- Correct exposure with a histogram
- Experiment with depth of field and shutter speed
1: Keep batteries warm
An essential fact regarding snow or cold weather photography is that batteries drain out faster at low temperatures. If you are going to shoot snow photography, make sure that your batteries are fully charged. Also, keep extra batteries with you. In addition to this, try to keep the batteries warm. You can keep the batteries warm by keeping them in your pockets. The heat generated by your body will keep the batteries warm.
When your camera batteries get discharged, replace them with the batteries which you have kept in your pocket. Put the exhausted batteries in your other pocket. Many a time an exhausted battery can be reused by keeping them warm for some time.
2: Dress warmly and wear waterproof clothing
Dressing per under the prevailing weather condition is very important. Being wet or feeling cold would make you feel uncomfortable. As a result, you might end up missing shots or in extreme conditions, shoot cancellation. If you are wanting to shoot snow photography, make sure you are dressed up to fight low temperatures, cold winds, and snow. Wear layers of clothes to fight the winter. The topmost layer should be of waterproof material. If possible, wear gloves, a cap, and waterproof or snow friendly boots.
3: Update your camera settings
Camera settings play a very crucial role in winter photography. Update your camera settings following the steps below:
- Set Your Camera to Shoot in Raw
Capturing the right colours of the snow-filled surroundings, along with correct exposure, can be quite challenging. To overcome this, shoot the photos in RAW format. This would give you more freedom to adjust colours and recover highlights during editing.
- Choose Evaluative (Matrix for Nikon) Metering
Getting the correct exposure is the most challenging part of winter photography. The metring system of all cameras is adjusted to base exposure on neutral grey and neutral tones. In snow photography, white surroundings tend to influence the camera’s meter exposure reading. Hence, you cannot rely completely on the camera’s meter. Evaluative metering would be the right option. You might need to switch to Partial or Spot metering to get the correct exposure.
- Exposure Compensation
As discussed previously, snow-covered landscapes can make everything look grey if the exposure is not right. If you want the snow in your pictures to look white, then keep the exposure compensation to +1 or +2. Exposure compensation can also be adjusted at the time of editing.
4: Protect your gear
Your camera is your lifeline, hence protecting it from extreme weather conditions is very important. Even if your camera is well equipped to fight bad weather conditions, there is no harm in being extra careful. Melting snow may reach your lens mount or inside the camera through crevices or cracks. Prolonged exposure to such conditions might create problems in your camera. As a safety measure, an OP/Tech rain sleeve should be part of your must-have photography equipment, to cover your gear. There are easy to use, inexpensive, and available in various sizes.
It’s also just as important to keep your memory cards warm and dry if you are shooting in cold weather. Whilst the likes of SanDisks Extreme’s line and Samsung’s Evo line of cards are able to withstand extreme temperatures, not all cards are as well protected. We recommend putting your cards inside a memory card case, and then putting that case inside your pocket so that the cards can benefit from some body heat.
5: Photograph in the mornings to capture snowy details
In winters, there is no harsh sunlight. If you want to capture an undisturbed serene beauty of snow-covered surroundings, the best time to click photos is early mornings. The aim is to click pictures before others get up and also before people come out and leave their footprints in the snow.
6: Insulate your tripod
Insulating an aluminium tripod is a must. Under extremely low temperatures, the aluminium-based tripod becomes too cold to touch. If you try adjusting the aluminium tripod with bare hands, some of that cold would be passed on to your hands. To avoid such conditions, insulating the tripod would be a great solution. It can be easily done by covering the legs of the tripod using a foam pipe. Foam pipes can be bought from any hardware shop. You can use either zip ties or duct tape to attach foam pieces to your tripod legs.
7: Use strong lines and contrast
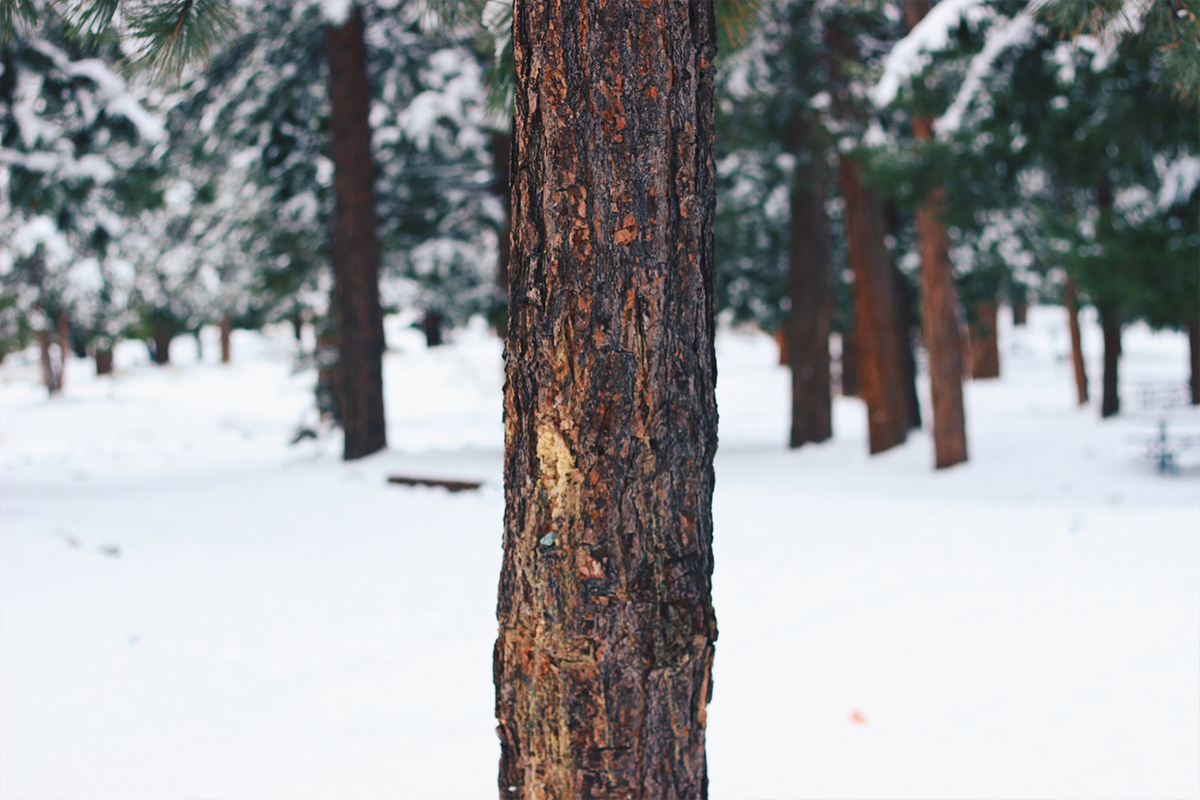
When everything is covered with snow, focussing on any particular subject using an autofocus mode would be quite difficult. Autofocus mode works better in cases where contrast is available. Hence, if you still want to use autofocus mode, press the shutter of your camera to halfway and try to focus on some darker objects like the bark of a tree. This would fulfil the contrast criteria, and you might succeed in capturing the beautiful scenery.
8: Correct exposure with a histogram
A good way to check whether your exposure is right or not is by checking it using a histogram. The histogram would help you check whether you are getting the required image details or not.
9: Experiment with depth of field and shutter speed in the snow
To get the correct shutter speed, you might have to experiment by using various speeds. A slow shutter speed might blur the image
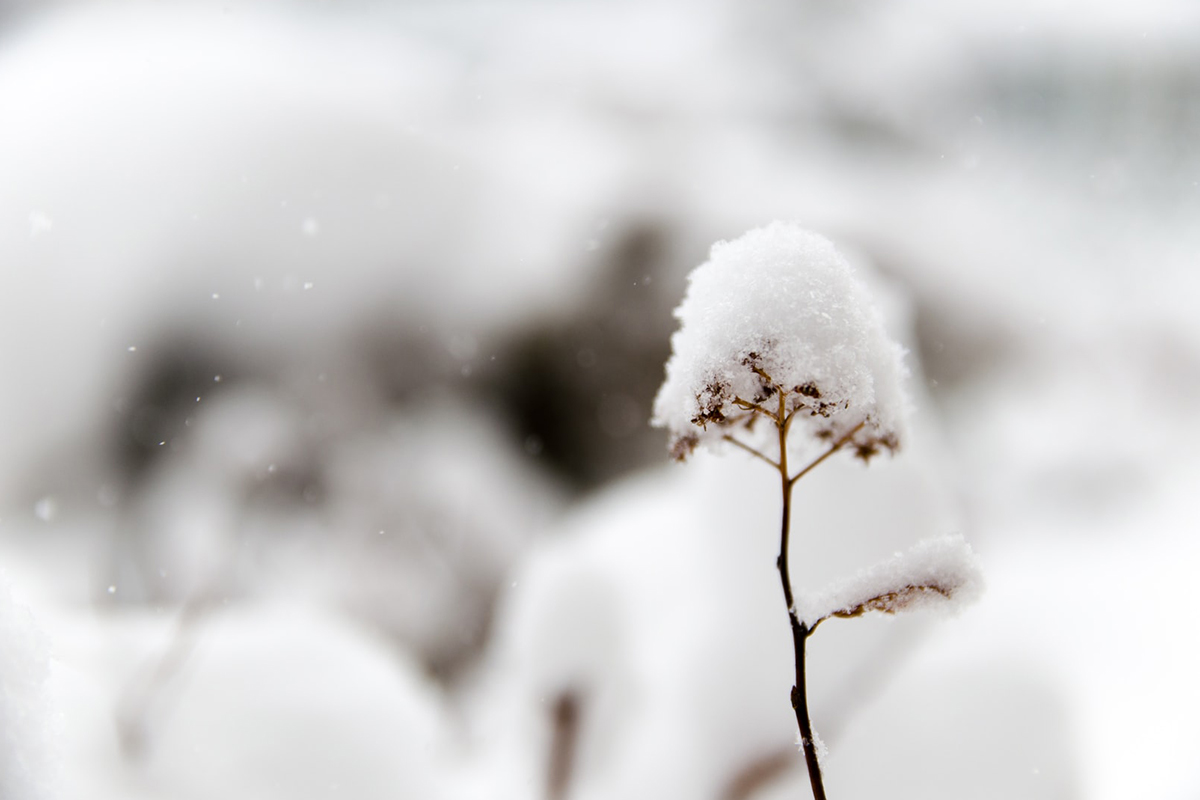
To get the correct shutter speed, you might have to experiment by using various speeds. A slow shutter speed might blur the image. A fast shutter image would stop all kinds of motions. In case you want to capture the falling snow, you have to adjust the shutter speed as per your requirement. In case of fast shutter speed, the snowflakes would appear as dots. In case of slow shutter speed, the snowflakes will look like white streaks.
If you want to capture the beautiful snow-filled landscape, be adventurous and creative. Don’t let the weather stop you. Keep yourself and your camera safe. Don’t delete photographs while you are shooting. It is better to make the selection while you are sitting in the comfort of your studio.
Looking for the best gadgets to complement your next shoot? Head to our website now to find the best accessories for photography.
Author Bio: Dhaval Patel has two passions: Travel & Photography. Luckily, they go hand in hand. His goal is to inspire and encourage others to get out into nature. Check back at his website to learn about the various ways he photographs nature.













Comments